FAQ
You will need:
- 3DLabPrint digital 3D files
- 3Dprinter
- PolyAir 1.0 (highly recommended) or PLA filament
- RC equipment (links provided in our airplane user guide)
Test files
If you want to test your printer before buying the plane, you can find the test files on our Thingiverse profile. You’ll find usually the largest part of some of our planes. We’re using the same technology for all of our models, so once you dial in your printer for any of the test files, you should be able to print all of them.
Printing guide/FAQ
Introduction
Please see the PDF/VIDEO user guide prior to printing our models. A 3DLabPrint Pilots Association Facebook group contains much useful information as well. We’re using some specific features in our STL files resulting in possible errors in some CAD / slicing software. This is the intentional result of extensive development to achieve desired strength-to-weight ratio.

Our STL files are designed for printing in special mode, which some slicers may detect as faulty. We’re including Simplify3D factory files with all settings preconfigured for Direct drive printers. Since version 2.4.0 we also support Prusa Slicer and continuously add preconfigured 3mf files to the downloads. Satisfactory results are achieved with Cura, please check the Help section for more info about slicing in specific slicers. Older Slic3r based or other slicers are not supported and the functionality is not guaranteed.
Please check our Facebook or Discord for recent information.
Included Gcodes are 100% compatible with Prusa i3 original printers (it should work with most i3 family and compatible printers as well)
Please experiment with temperature (for PLA in range 210-260) for proper layer bonding… Usually, for thin wall printing, we need higher temperatures than recommended by filament manufacturers compared to printing standard items.
Outlines/Perimeters/Shells
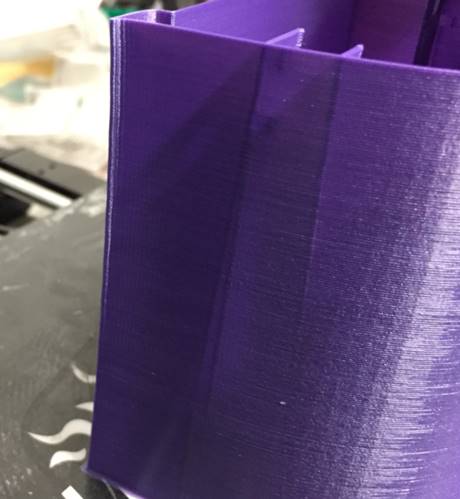
Most of the parts are printed with only one perimeter/shell thickness (0.4 mm nozzle gives the best results). Turn on thin wall detection for our slic3r version Thunderbolt. For the first few millimetres of the parts or exposed parts, you can use a separate process with two or more perimeters shell. Please see the VIDEO guide for more information about this.
Extrusion multiplier – the amount of filament
Please experiment with the extrusion multiplier. This is very IMPORTANT for successful prints. Increasing extrusion multiplier results in stronger parts with better layer bonding. However, it increases the resulting weight of printed parts. Refer to optimal weights for each part in our PDF user guides to find the optimal multiplier values. The multiplier value can vary depending on your printer and filament diameter. Value 1.02 usually works fine, but sometimes we may need at least 1.15. Always ensure your hot end is in a good shape, provides steady flow, and the right amount of filament. Don’t forget to calibrate your extruder E steps and add measured filament diameter into the slicing software.
Retraction
The Retraction value is very dependent on your printer and filament quality. For non-bowden (direct drive) extruders RETRACTION values of 0.7-1.5 usually work fine. The good starting point is 0.8 and if you find some oozing during the non-print movement try increasing this value. For bowden extruders use values around 4-6 mm. Set retraction for all spots, not just for outer perimeters! In the case of nozzle clogs due to molten filament in heatbrake, decrease the retraction value.
In case of under-extrusion at the layer start point (after retraction), please check your hot end for issues. The “Extra restart distance” value (if your slicing software has this feature) adds an extra amount of filament after retraction. Values of 0.05 – 0.2 usually works. Another option is decreasing the print speed, increasing the movement speed to reduce oozing and adjusting the temperature. Reducing the retraction speed to 15-20 mm/s or placing the parts on the heatbed differently might help fight the under extrusion after retraction as well. Sometimes a drop of vegetable oil applied on filament prior to print could reduce friction, especially in bowden extruders.
If you have tried everything with no success, you can try one last solution:
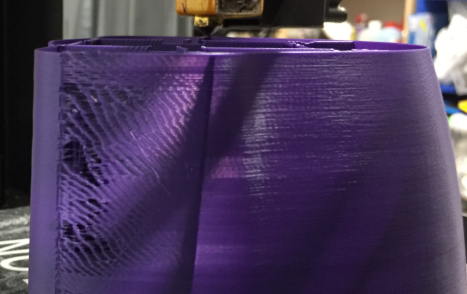
Change the bottom stock setting to the optimize start point setting. This option causes some minor blobs to airfoil but helps with oozing the filament out of the nozzle and so on… (Simplify3D picture)

The last chance – if you use Prusa i3 clone printer and nothing works.
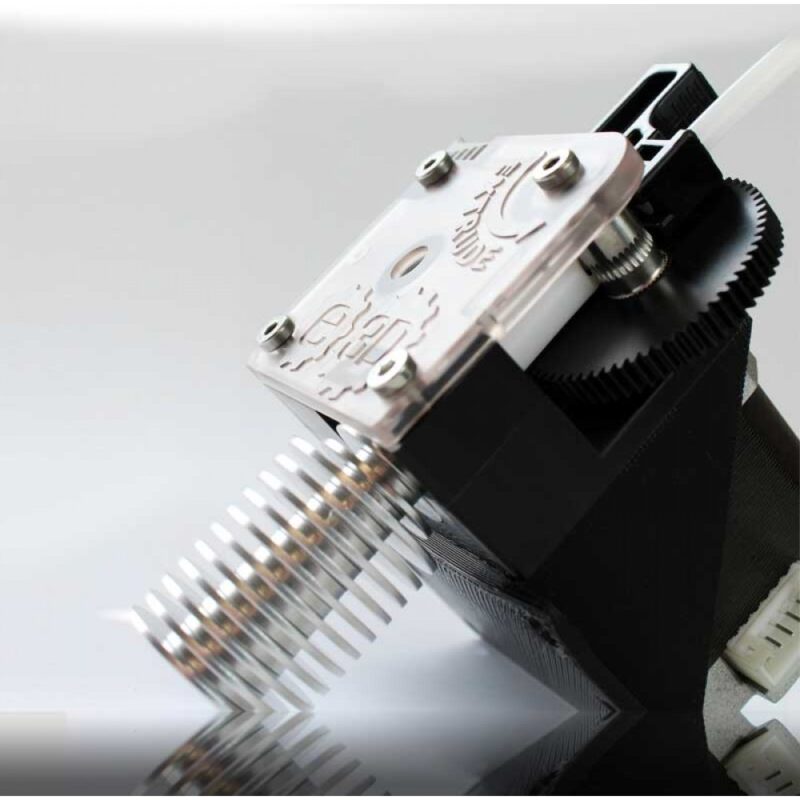
Your hotend/extruder is not able to print thin walls. Consider upgrading with E3D Prusa i3 Upgrade Kit, you get a 100% working Nozzle/Hotend/Extruder combination. Especially in the case of cheap Chinese printers, this could push your printer to a completely different level.
In general, if you already tried all settings, more than one PLA filament supplier and nothing helps, you will need to check your Nozzle/HotEnd/Extruder. Clear it, replace the nozzle, PTFE tubing or a whole hotend, or upgrade to a better quality extruder.
And just one piece of advice from Philipp Amann (thanks for sharing this):
I have done a lot of testing and discussing with other “printers” and we have found, that the cheaper (or in bad condition) printers can’t really cope with 0,25 layer strength and the necessary restart. When you reduce the layer to 0,2 it works perfectly, even with the cheap printer.
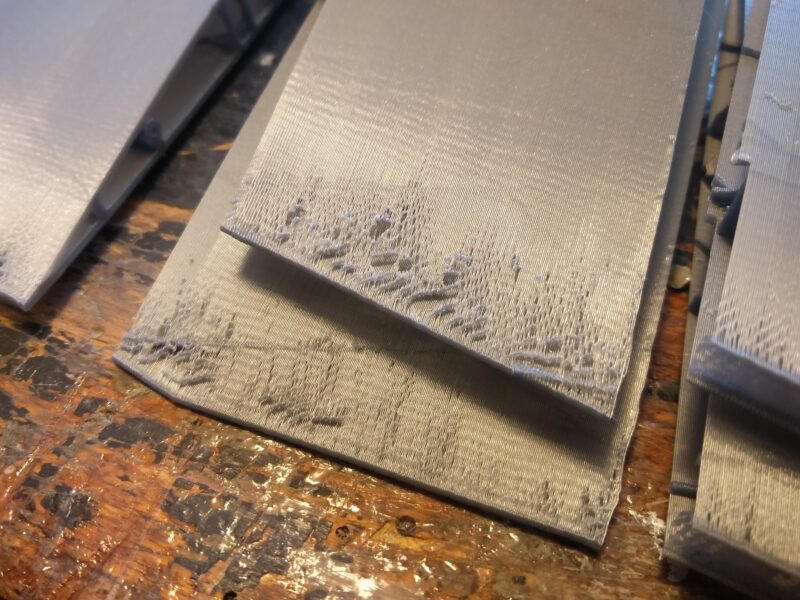
This is a 0.25mm layer
This is the same S3D profile with a 0.2mm layer…
Bed adhesion
The very crucial part of success is proper first-layer adhesion. The first layer must be properly flattened (squished) and it’s essential to decrease the first layer printing speed. Try to find the best sweet spot of your first layer height. For better strength of printed parts and better bed adhesion is vital to set 2 perimeters for the first 1-3 mm of print. You can use a separate process in Simplify3D. In other slicing software, you could at least increase the width to 130-150% and reduce speed for the first layer. HEATED BED is highly recommended.
If you’re printing on glass, we have a great experience with ultra-strong hairspray. On clean, degreased glass apply the hairspray, let dry and scrape with a razor blade to create matte surface. Heat up to 60°C.
PEI, Kapton or other special bed surfaces works well too. Without a heated bed, you can use some PVA glue stick like KORES and add some skirt outlines with 0 mm offset. The most difficult parts tending to warp due to poor bed adhesion are the trailing edge of wings. You could add some pads to these parts to increase adhesion.
If you’re experiencing bed adhesion issues on Prusa MK3 PEI, mostly on trailing edges, you can sand it with fine-grit sandpaper from time to time. It is also vital to degrease the surface using alcohol, sometimes a dishwashing agent (dissolves not only grease but also sugar residues from the fingers) and you can also rejuvenate the PEI sheet using Acetone. Don’t use the Acetone too often as the PEI will get hard and brittle. Adjust the Live-Z using the display of your printer while printing the first layer to nicely squish the laid material. You need to find the sweet spot, so the part sticks well to the bed and doesn’t have the elephant foot effect.
The ultimate adhesive we have the best experience with on any surface including PEI is the 3DLAC spray. The higher price is justified by the ease of use, steady performance and low consumption. One application withstands multiple print jobs.
Temperature/Print cooling
The temperature of the hotend varies with each material. Try to print as hot as possible with the print cooling fan OFF. (while keeping the hotend heatbrake fan ON). Molten plastic flowing from the hotend should be able to melt again the previous layer, so it makes a solid bond. Fit as many parts as possible to the bed to let the other parts cool down and gain some strength before the nozzle gets to the same spot. For PLA the range is 200-260°C. 230°C is a good starting point.
Axes alignment
Having your printer perfectly aligned is very crucial. If you find your printed parts won’t fit, you either have your axes skewed, motor e-steps are off, or you may have scaled the model by mistake. All our STLs are tested to fit spot on.
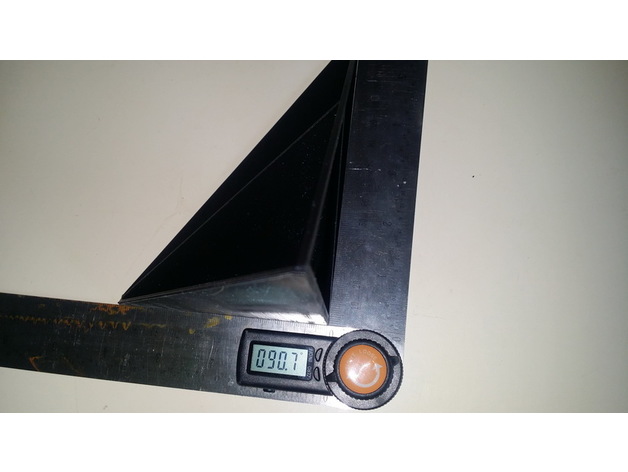
There’s a printer calibration test benchmark you can print and measure the dimensions and angles to check the axes and e-steps of your printer.
https://www.thingiverse.com/thing:3148790
Layer shifts on Prusa MK3
The Prusa MK3/MK3S has a feature to detect nozzle collisions. Sometimes this feature can lead to intermittent layer shifts though. Therefore we recommend turning this feature off. On the other hand, silent Stealth mode preventing the use of collision detections is well tested, and known to work great.
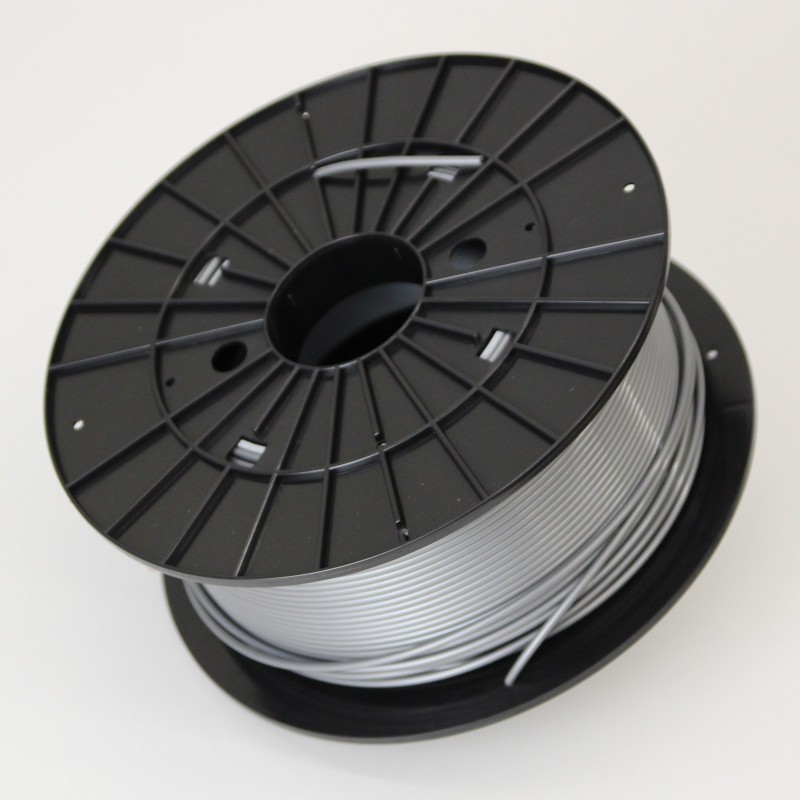
Filament
For best results, We recommend PolyAir 1.0 our in-house developed and produced “Airplane Grade Filament”.During our development process, we found that also PLA gives very good results. Any standard quality PLA is ok, however, the final quality of print depends on the combination of Filament/Extruder/Hotend. Some colours of filament, due to colouring additions, gives different strength to the resulting parts. Please experiment and find the best possible attributes suiting your need. Less translucent filaments are easier to paint, and reflective colours are less prone to warp in direct sunlight.
Another possibility is to use PETG, however, the result is more flexible. Parts are slightly more temperature resistant, and less brittle, but the flexibility is the major downside for thin features like wings or stabilizers. Again it needs higher temperature and retractions tuning.
ABS is not very suitable to print our planes due to temperature shrinkage during cooldown. You may be able to print using an enclosed printer and keep the cooldown process very slow. Feel free to experiment.
We’re using PolyAir 1.0 or PLA filament.
Printers
The recommended build volume is 200/200/200 mm. Most of our planes fit 195/195/150 mm or 250/120/150 mm. The bigger the better. A heated bed is highly recommended.
Smaller Spitfire MkXVI comes with a version fitting the 150/150/150 mm build volume. The minimal delta printer diameter has to be at least 275 mm (diagonal of 200×200 bed) to fit the wing chord.
Recommended nozzle size is 0.4 mm. With a bit of extrusion multiplier tuning the range of 0.35 – 0.5 nozzle size could be used as well. Always check the proper weights according to the PDF user guides. Direct drive extruders are prefered, however, bowden printers are able to print our planes as well. The hotend and nozzle are the most important parts of the printer to achieve satisfactory results. Check their condition on a regular basis as the thin wall printing is very sensitive to a proper and steady flow of molten filament.
Please calibrate your X/Y/Z steps/mm and ensure your axis are not skewed. If you have some disproportions in your printer, you won’t be able to assemble the plane properly.
Remember: There are many FFF/FMD printers on the market nowadays. Most of them should be good enough to print our model aircraft. If it has sufficient build volume, heated bed, 0.4 mm nozzle and quality hotend/extruder, you’ll be fine.
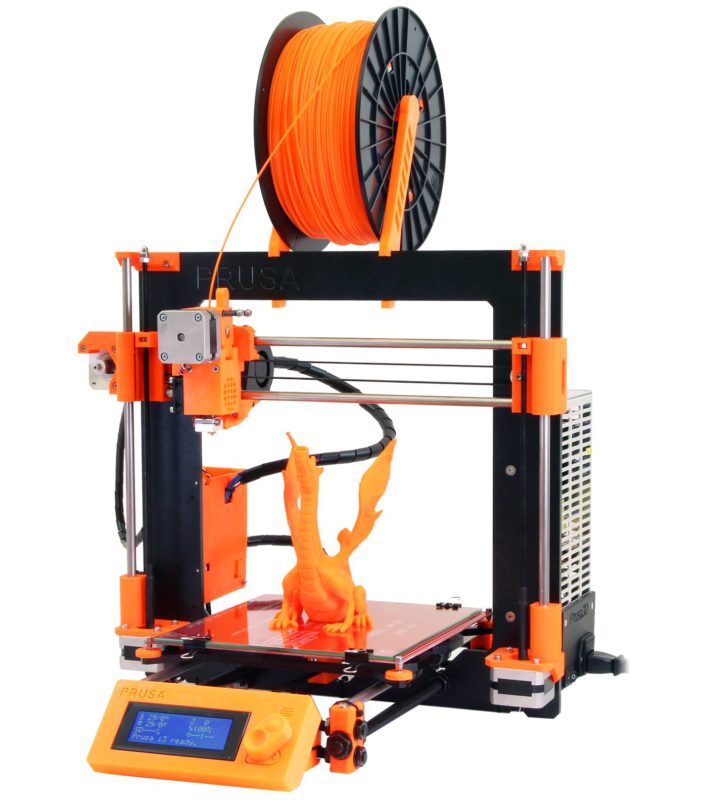
We use Prusa i3 Original printers (supplied Gcodes works 100%), Makerfarm and we also tried some cheap Chinese Prusa clones (somehow it worked, but maybe extra upgrades are needed for better print results. Everything depends on individual printers)